> ## Documentation Index
> Fetch the complete documentation index at: https://docs.converse.vitxi.ai/llms.txt
> Use this file to discover all available pages before exploring further.
# Role
> How to assign permissions to one person? Read to find out!
### **How to create a new Role**
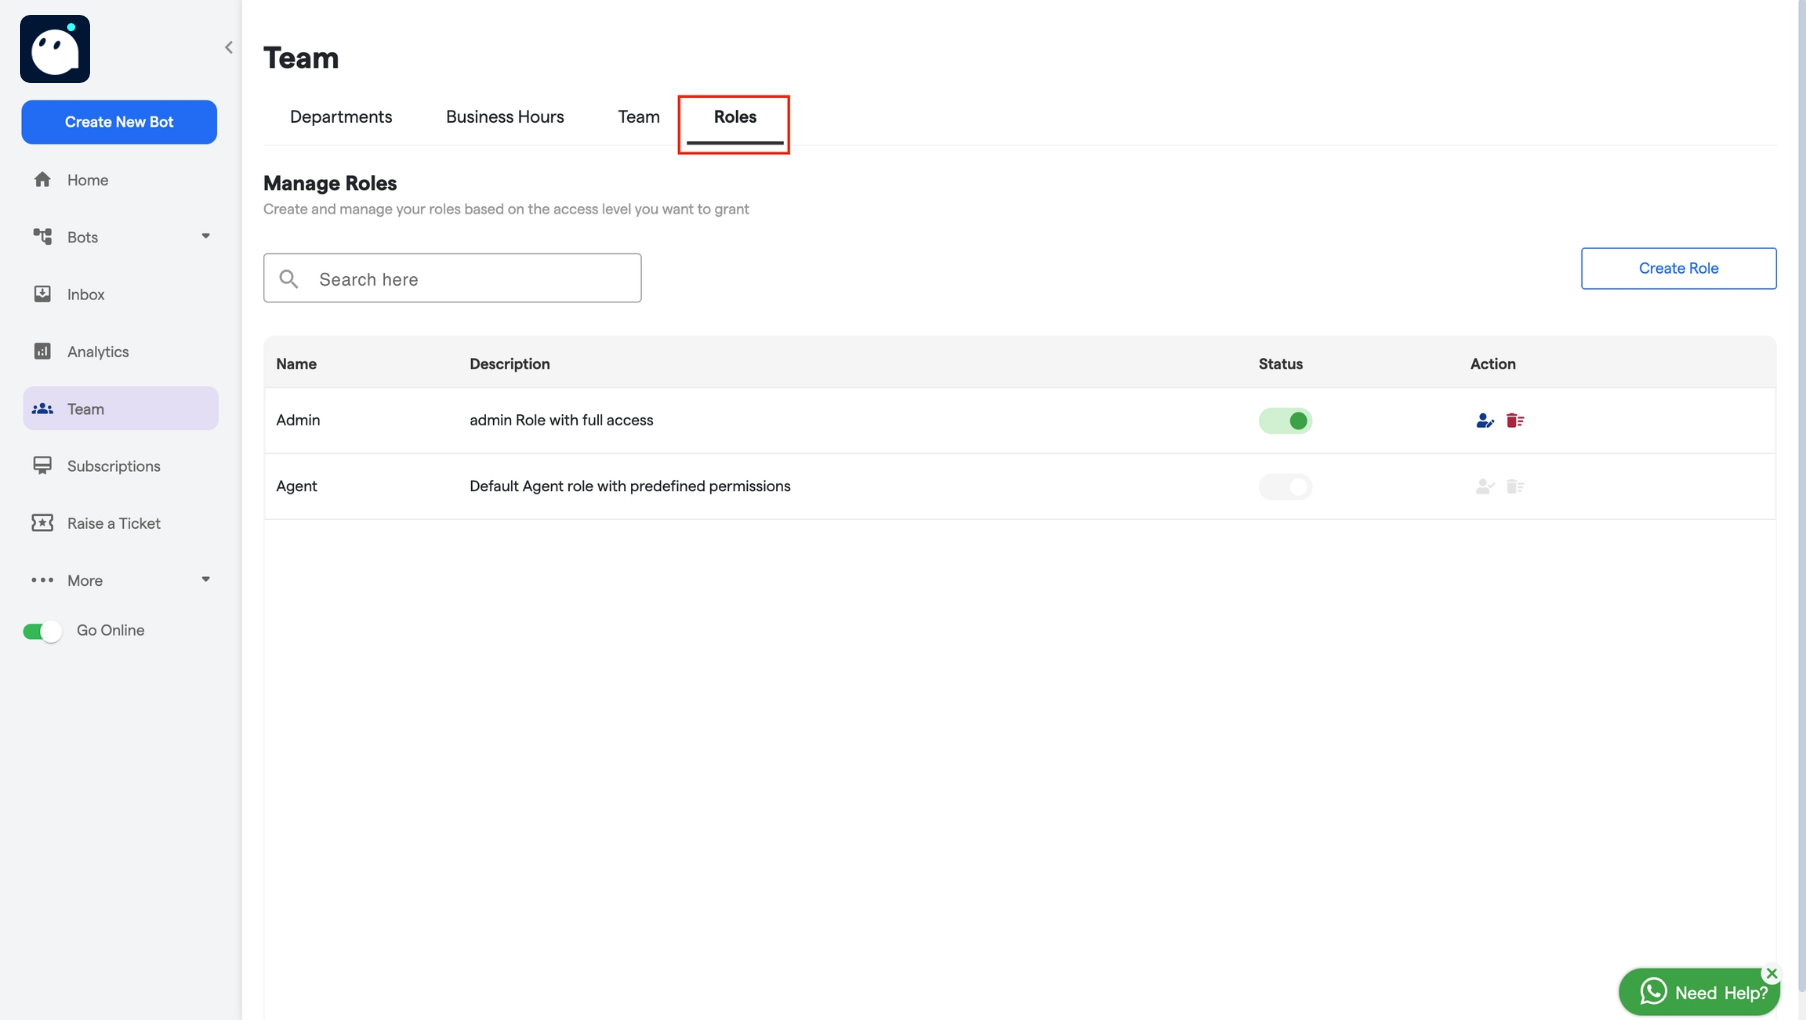
1. Click on the "Roles" panel to view and manage the roles you have created.
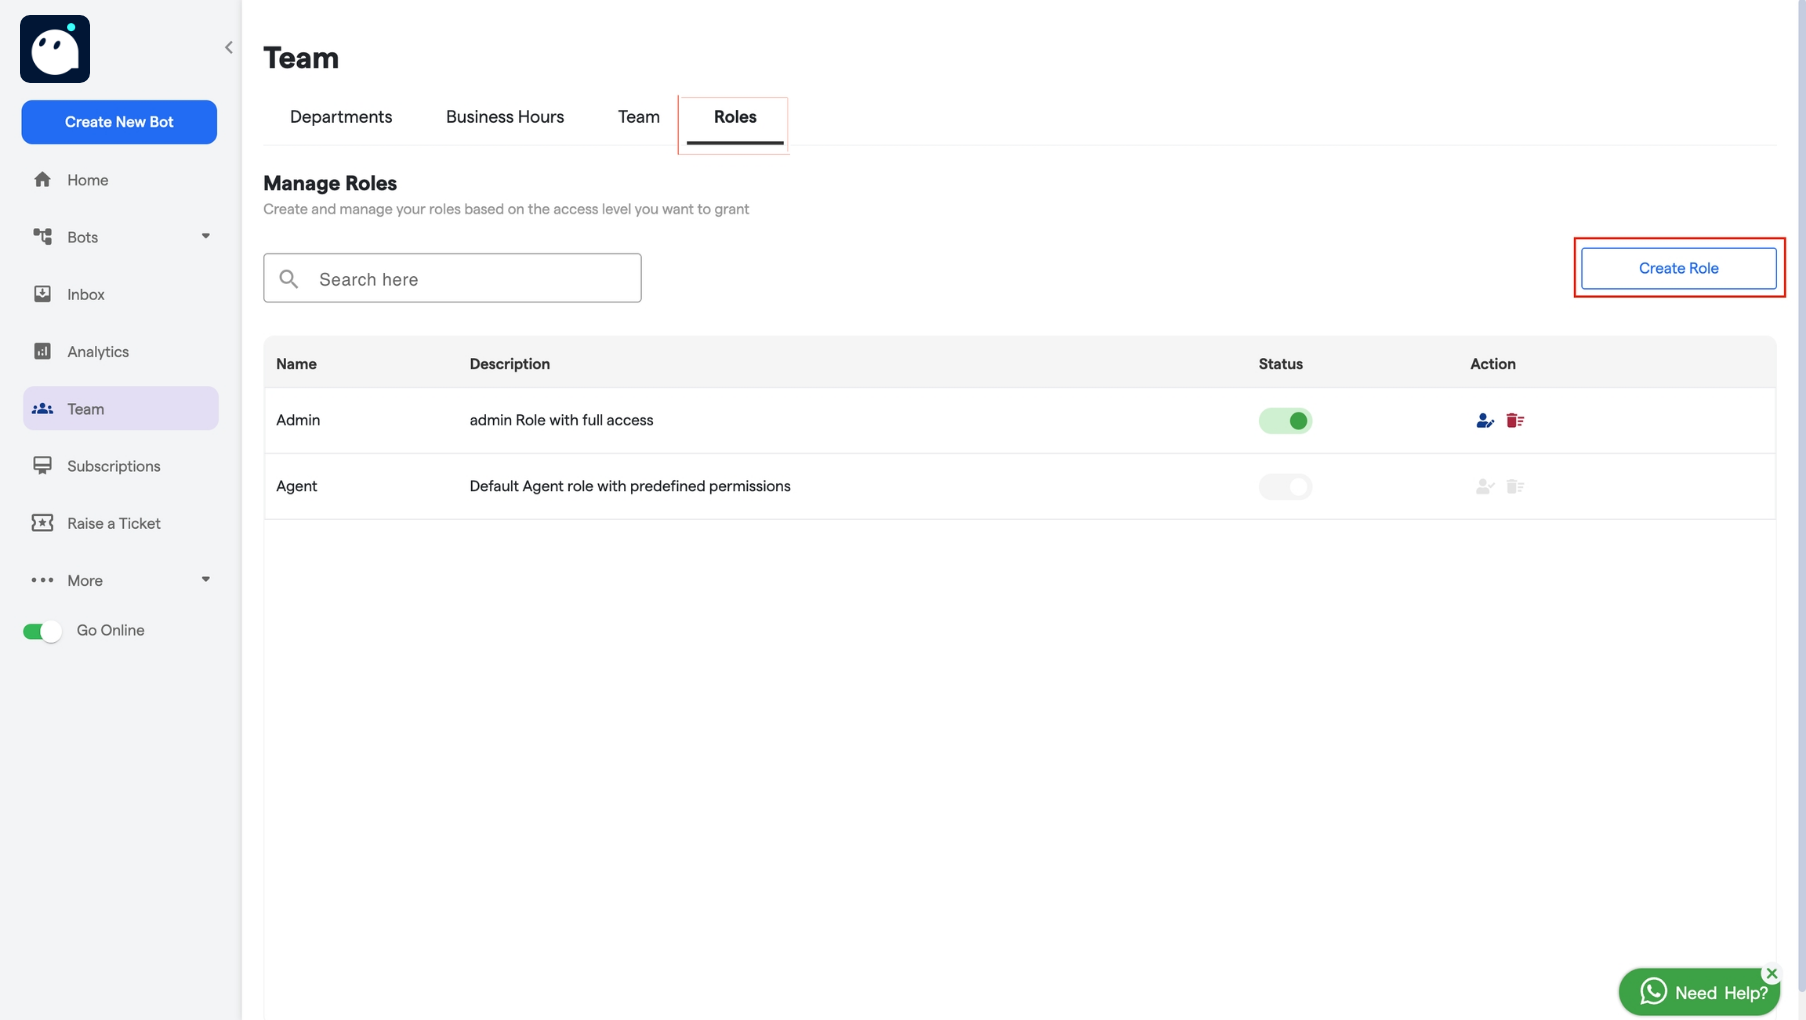
 2. Next, click on **"Create Role"** to start the process of creating a new role.
 3. Add **“Name”** and **“Description”** for your role.
4. **Assign Permissions:** You can select the sections you want to allow or block users from accessing in this role.
3. Add **“Name”** and **“Description”** for your role.
4. **Assign Permissions:** You can select the sections you want to allow or block users from accessing in this role.
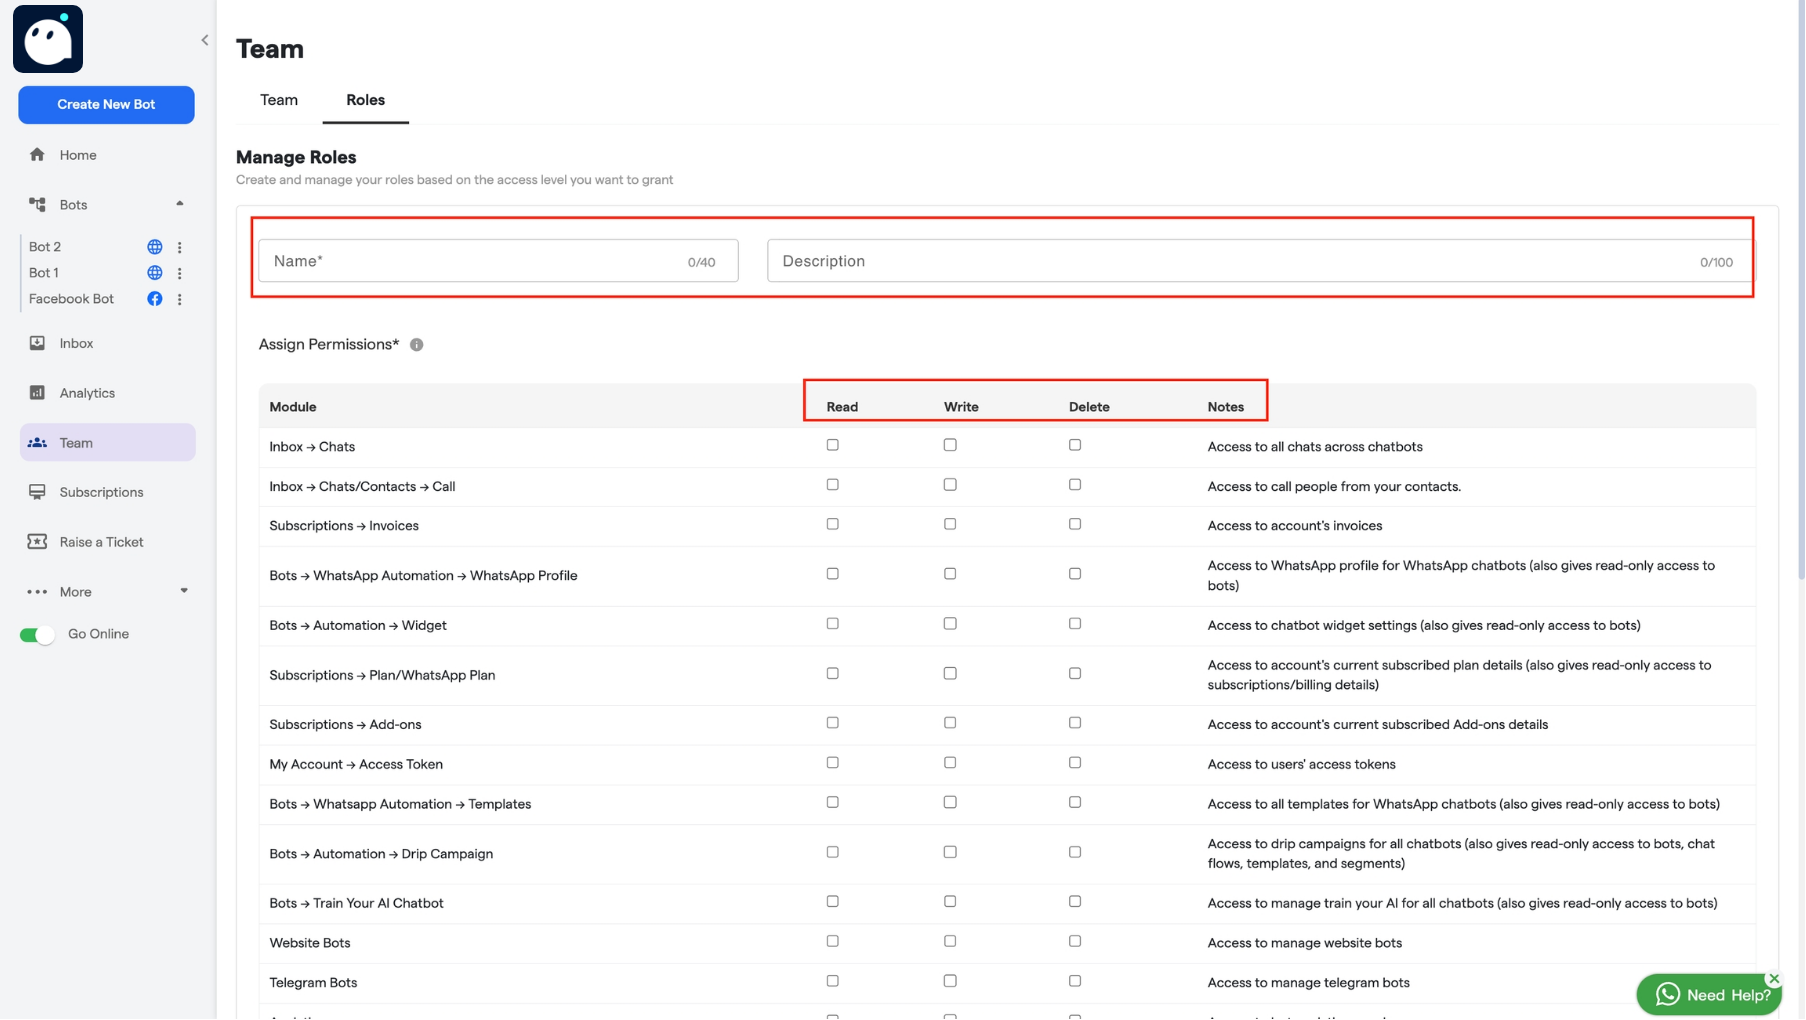 **Read:** It grants users access to only view the selected section.
**Write:** It grants users access to make changes in the selected section.
**Delete:** It allows users to delete existing items within the selected section.
Let's illustrate this with an example in the **Inbox —> Chats** section:
* **Read Access**: Users can view all chats across all chatbots but cannot edit or delete them.
* **Write Access**: Users can view and edit any chat across all chatbots but cannot delete them.
* **Delete Access**: Users can view and delete any chat across all chatbots but cannot edit them.
After giving the necessary permissions, proceed by clicking on **"Create Role"** located at the bottom.
**Read:** It grants users access to only view the selected section.
**Write:** It grants users access to make changes in the selected section.
**Delete:** It allows users to delete existing items within the selected section.
Let's illustrate this with an example in the **Inbox —> Chats** section:
* **Read Access**: Users can view all chats across all chatbots but cannot edit or delete them.
* **Write Access**: Users can view and edit any chat across all chatbots but cannot delete them.
* **Delete Access**: Users can view and delete any chat across all chatbots but cannot edit them.
After giving the necessary permissions, proceed by clicking on **"Create Role"** located at the bottom.
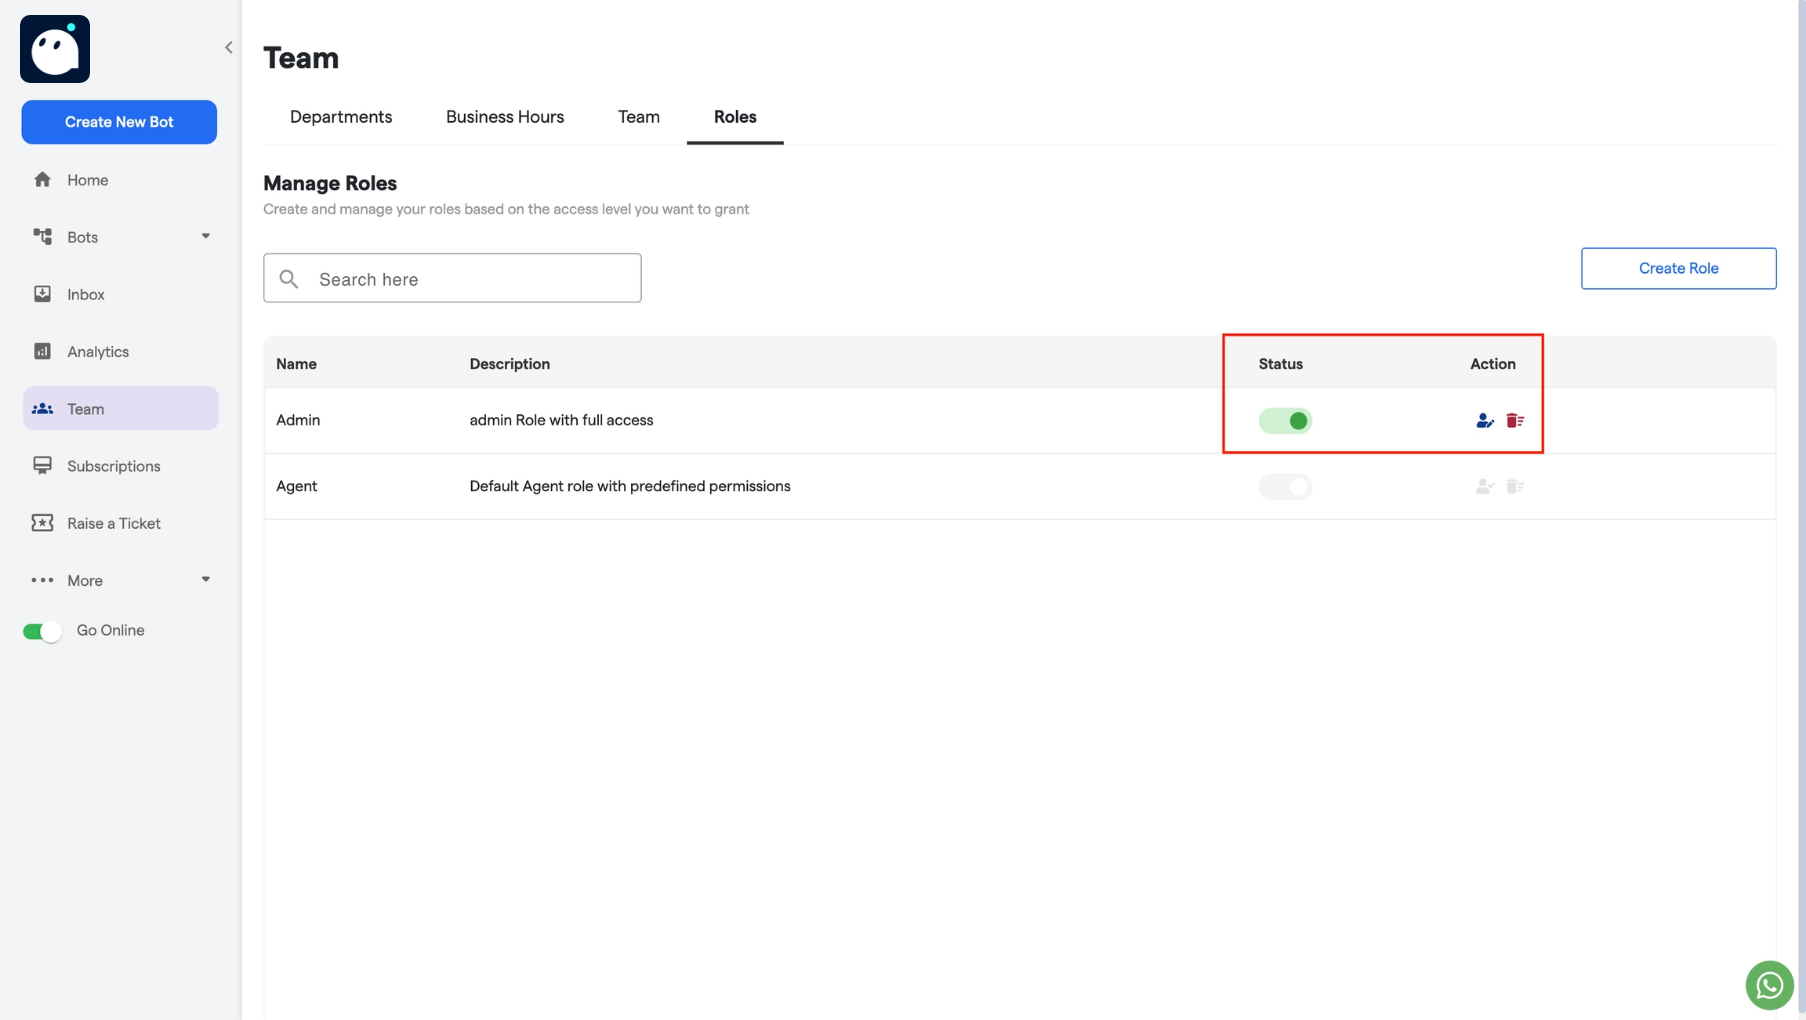
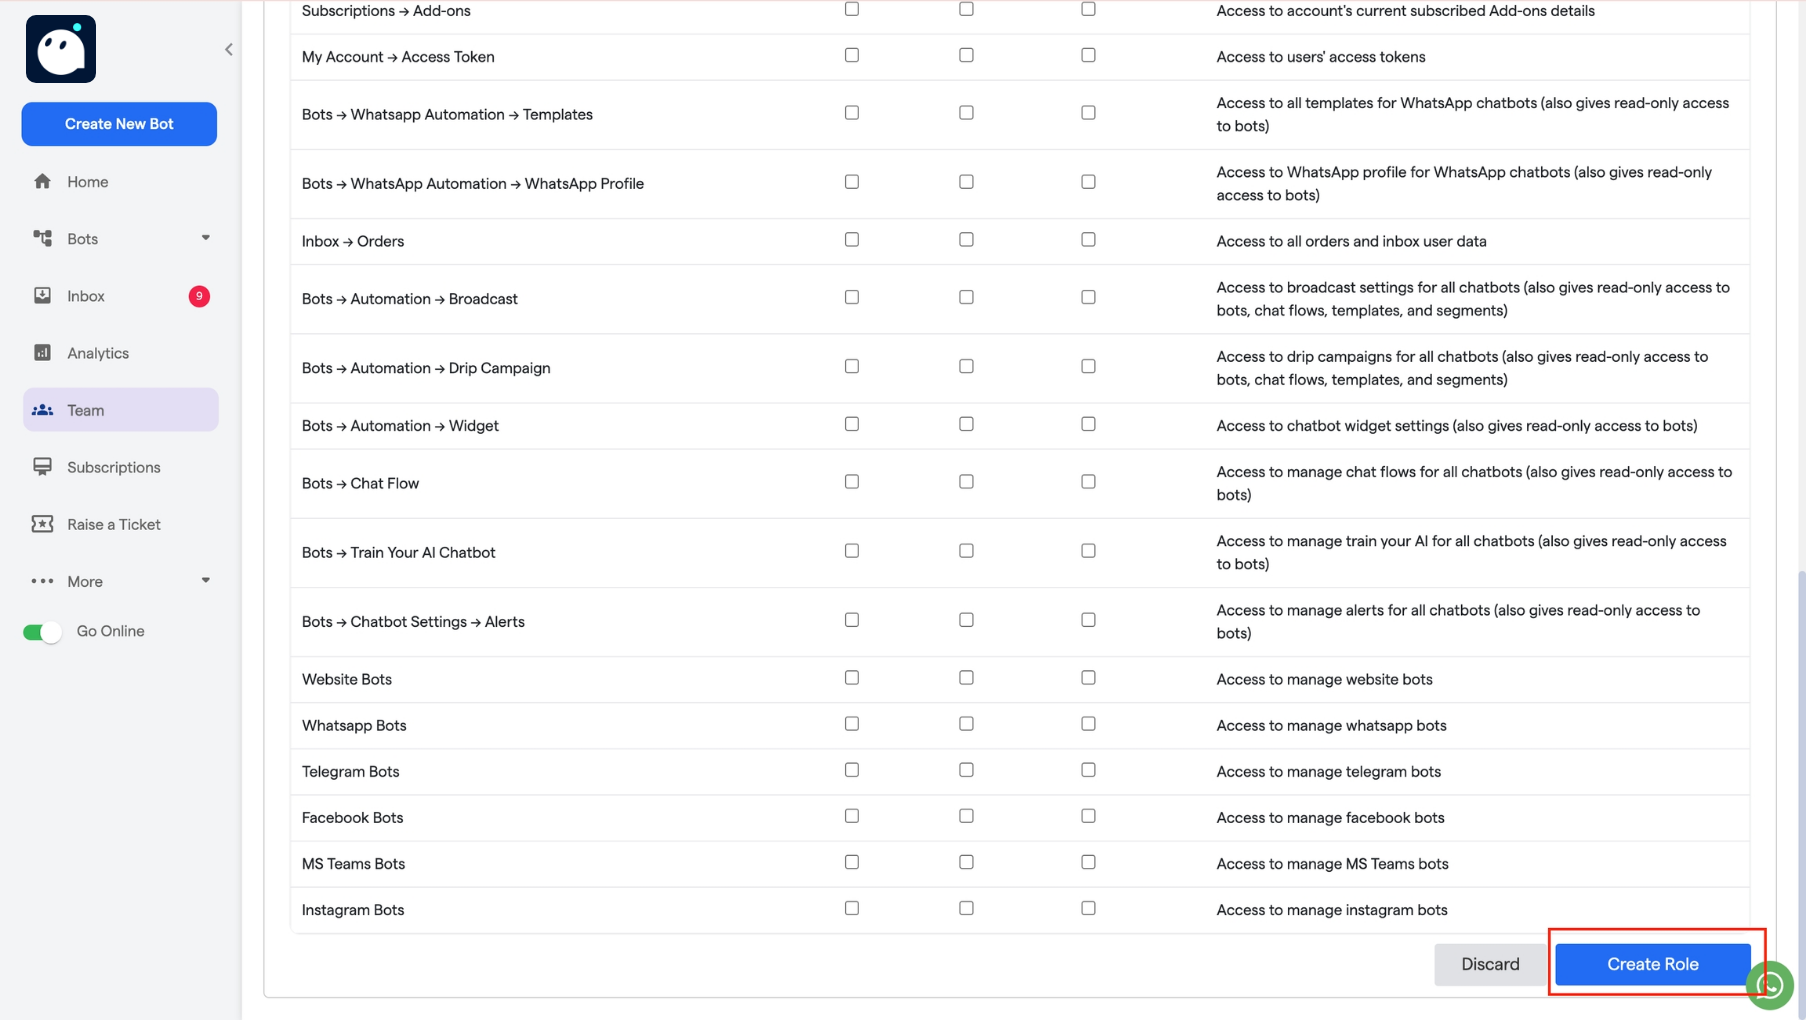 Your role will be created.
* **Status:** If the status of a role is **"active"**, it can be assigned to any team member. If the role is **“inactive”**, it cannot be assigned to anyone.
* **Action:** You can **edit** or **delete** any of the existing roles from here.
Your role will be created.
* **Status:** If the status of a role is **"active"**, it can be assigned to any team member. If the role is **“inactive”**, it cannot be assigned to anyone.
* **Action:** You can **edit** or **delete** any of the existing roles from here.